
Tel: +86-0769-33218711
E-Mail: info@ysydisplay.com
Add: A1#807, Tianan cyber building, Huangjin Road, Nancheng, Dongguan, China 523000.


Introduction
In retailing, presentation is everything. Store displays can draw customers in, showcase your merchandise, and reinforce your brand image. At the focal point of most retail displays are plastic mannequins—strong, adaptable, and reasonably priced. But like any other investment, mannequins need routine maintenance. Dust, fingerprints, scratches, and discoloration can age them rapidly and make them appear worn and unprofessional, reducing the effectiveness of your visual merchandising.
In this step-by-step guide, we will share practical tips on how to clean and maintain plastic mannequins so that they last longer, saving you money and presenting well-stocked store displays.
Why Maintenance Is Necessary For Plastic Mannequins
Most retailers overlook mannequins, not knowing that neglect shortens their lifespan.
Benefits of Proper Maintenance
Longevity: Well-maintained mannequins can last years without discoloring.
Cost Savings: Avoids frequent replacements and repairs.
Enhanced Visual Appeal: Clean mannequins present clothing in the most attractive way.
Brand Image: Customers associate a clean presentation with quality and professionalism.
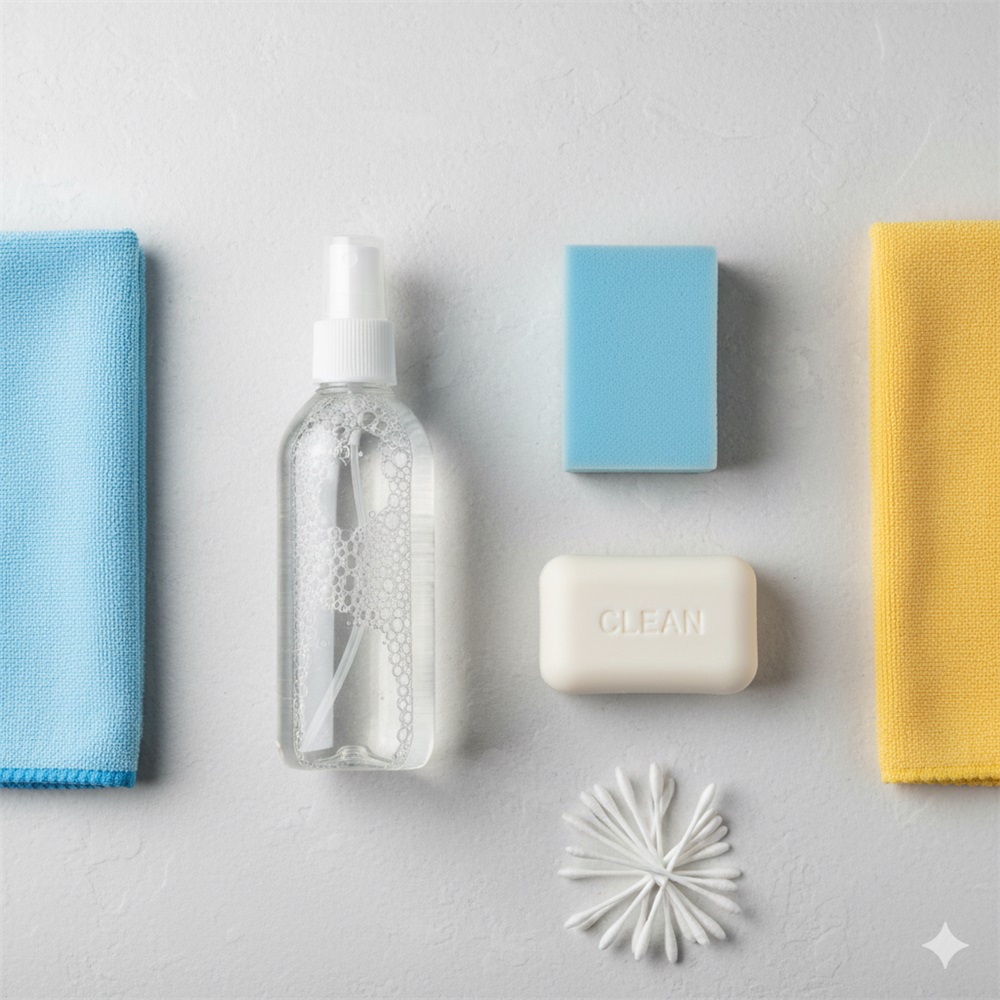
Step 1: Gather the Right Cleaning Supplies
Prepare before you start. Use no abrasive chemicals that will damage plastic.
Recommended Supplies
Soft microfiber cloths
Mild dish soap or dishwashing liquid
Warm water in a spray bottle
Non-abrasive sponge
Cotton swabs (for small areas)
Plastic polish (optional, for scratches)
Tip: Do not use bleach, alcoholic cleaners, or strong solvents—they can discolor or weaken the mannequin surface.
Step 2: Disassemble if Possible
Most plastic mannequins come in removable parts—head, torso, arms, and legs. Disassemble the mannequin prior to cleaning to access each corner.
Carefully remove the arms and legs.
Keep screws or connectors in a small bowl to avoid losing them.
Place the parts on a soft cloth to prevent scratches.
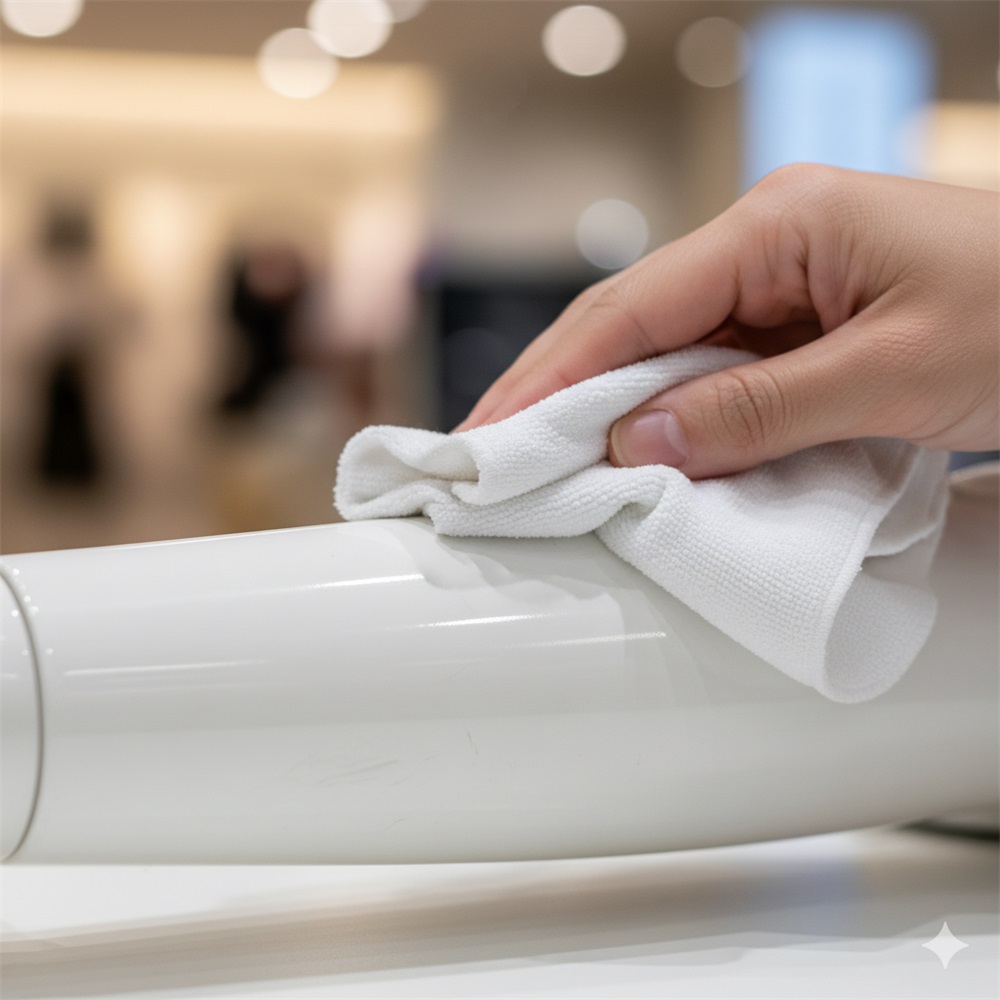
Step 3: Dust and Wipe Down the Surface
Mannequins tend to collect dust easily, especially when your shop gets many visitors.
How to Do It:
Wipe off loose dust using a dry microfiber cloth gently.
Spray a mild soap solution onto a damp cloth, not on the mannequin.
Wipe the surface evenly, being cautious around joints and curves.

Step 4: Remove Stains and Marks
Fingerprints, pen marks, and makeup smudges are common on mannequins.
Cleaning Method:
For minor stains: Soap and water and a sponge.
For tougher marks: Rub gently with a cotton swab dampened with a soap solution that's been diluted.
For ink stains: Try a plastic-safe cleaner, but test first on an inconspicuous spot.
Avoid: Scouring pads—they will scratch.
Step 5: Repair Scratches Properly
Mannequins will inevitably get scratched while dressing or moving.
Fixing Minor Scratches
Dampen a microfiber cloth with a little plastic polish.
Rub the scratched area in a circular direction.
Buff lightly until the scratch disappears.
Preventing Scratches
Dress mannequins gently at all times.
Remove jewelry and sharp accessories before dressing.
Step 6: Dry and Reassemble
Moisture weakens joints and creates dull spots on the surface.
Wipe mannequins with a dry cloth completely.
Let them air-dry for 10–15 minutes before reassembling.
Reattach arms, legs, and other parts carefully to avoid bending connectors.
Step 7: Regular Maintenance Schedule
Consistency is key.
Recommended Routine
Daily: Dust mannequins with a dry microfiber cloth.
Weekly: Wipe with a damp cloth and mild soap solution.
Monthly: Inspect for scratches, polish when necessary, and check all joints.
By following this routine, your plastic mannequins will be in excellent condition for years to come.

Additional Tips for Long-Term Maintenance
Store Properly When Not in Use
When mannequins are not in use, cover them with protective wraps and place them in a dry, cool place.
Avoid Direct Sunlight
UV rays can discolor plastic over time. Place mannequins away from direct sunlight or use UV-protective films on windows.
Rotate Mannequins
Alternate between mannequins in and out of display areas to reduce wear on specific models.
Common Mistakes to Avoid
Using Harsh Chemicals: Can cause cracks and color loss.
Rough Handling: Leads to broken connectors and scratches.
Neglecting Regular Cleaning: Makes mannequins look older faster.
Improper Storage: Too much heat or moisture can warp plastic.
FAQs on Cleaning and Maintenance of Plastic Mannequins
Q1: How often should plastic mannequins be cleaned?
A: Clean them once a week with a mild soap solution and dust them every day for the best results.
Q2: Can I use glass cleaner on plastic mannequins?
A: No. The majority of glass cleaners contain ammonia, which will damage the plastic surface.
Q3: How do I most effectively remove ink marks?
A: Use a plastic-friendly cleaner or cotton swab with soap solution—always test on a hidden area first.
Q4: How can I prevent mannequins from yellowing?
A: Away from direct sunlight and in cool, dry storage when not in use.
Q5: Is polishing mannequins on a regular basis worth the effort?
A: Yes. Polishing removes minor scratches and restores shine, which keeps mannequins looking new for longer.

Conclusion
Mannequins are a direct investment in your store's image. By following this step-by-step guide to cleaning and maintenance, your plastic mannequins will continue to be clean, scratch-free, and visually appealing for years to come. By devoting some time and attention, you can save money, extend their lifespan, and ensure your store displays always look professional.
CONTACT US
ART WING Display Mannequin, a China manufacturer of high-end-mid mannequins.
We dedicated to innovative design and focus on producing high-quality display production.
QUICK LINKS
PRODUCTS
ABOUT ART WING
SERVICE

Tel: +86-0769-33218711
E-Mail: info@ysydisplay.com
Add: A1#807, Tianan cyber building, Huangjin Road, Nancheng, Dongguan, China 523000.
Copyright © 2026 DongGuan Art Wing Display Co., Ltd | All Rights Reserved
Hello, please leave your name and email here before chat online so that we won't miss your message and contact you smoothly.